In our first post I introduced WSL2 and its benefit. In this post we will harvest and utilise the WSL2 power and functionality you need to be able to connect your favourite IDE (Interactive Development Editor) to utilse its packages inorder for you to develop, run, and debug your code. In this post I will walk you through setting up Pycharm and VSCode - two of the most commonly used IDEs these days that utlise WSL2.
Part 1: Setting up WSL2 with Pycharm
There are two steps to set up your Pycharm to use the WSL2 with Python. First, setup the interpreter for the project. Second, set up the terminal to point to WSL.
Note that prerequisite is to have Pycharm installed. If you do not, you can get it here.
For setting up the interpreter follow these steps:
-
Go to File, then settings.
-
In the settings popup go to Project.
-
Under project, go to Python Interpreter.
-
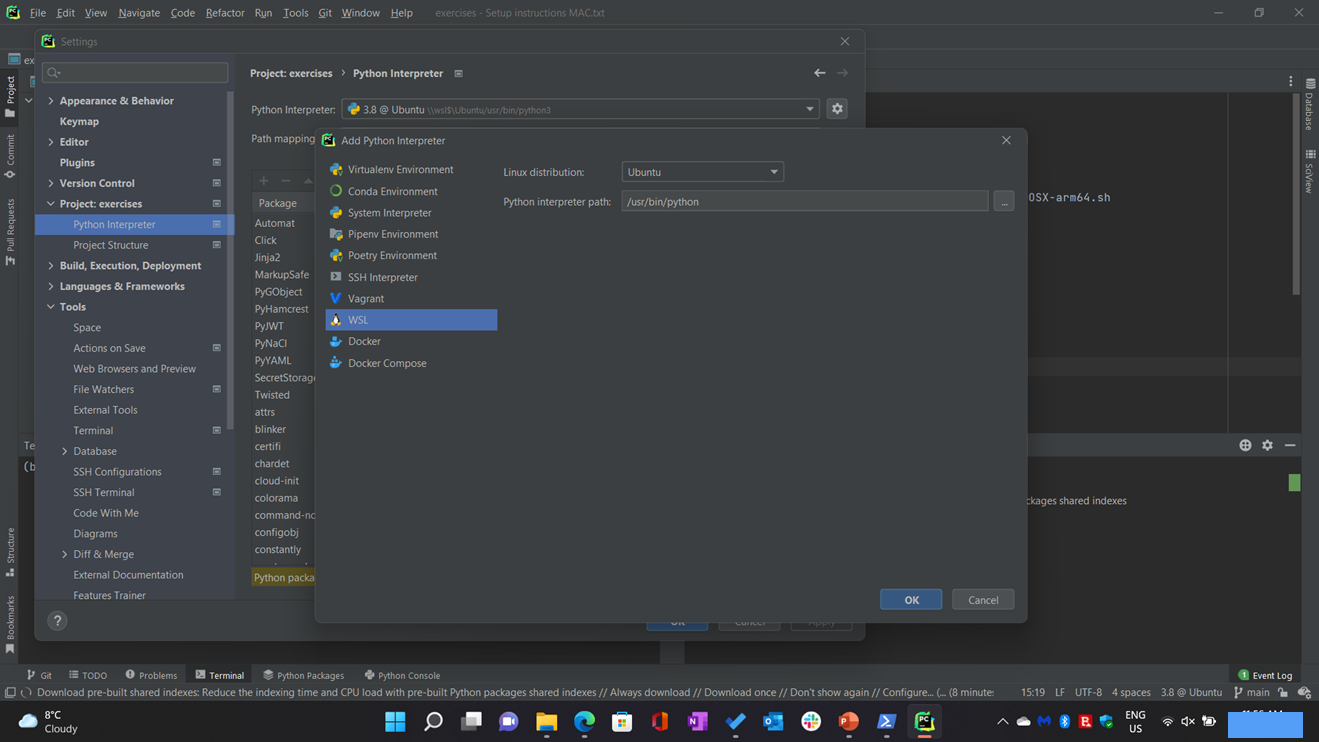
In that window select the gear shape
 .
. -
From the popup select WSL.
-
Then ensure the distribution.
-
Add/ensure the path is ‘usr/bin/python3’
-
Note:
-
Python3 for me, it can be Python for you.
-
You can point it to any Python version/package in WSL. e.g conda.
-
For setting up the terminal:
-
Go to File, then settings.
-
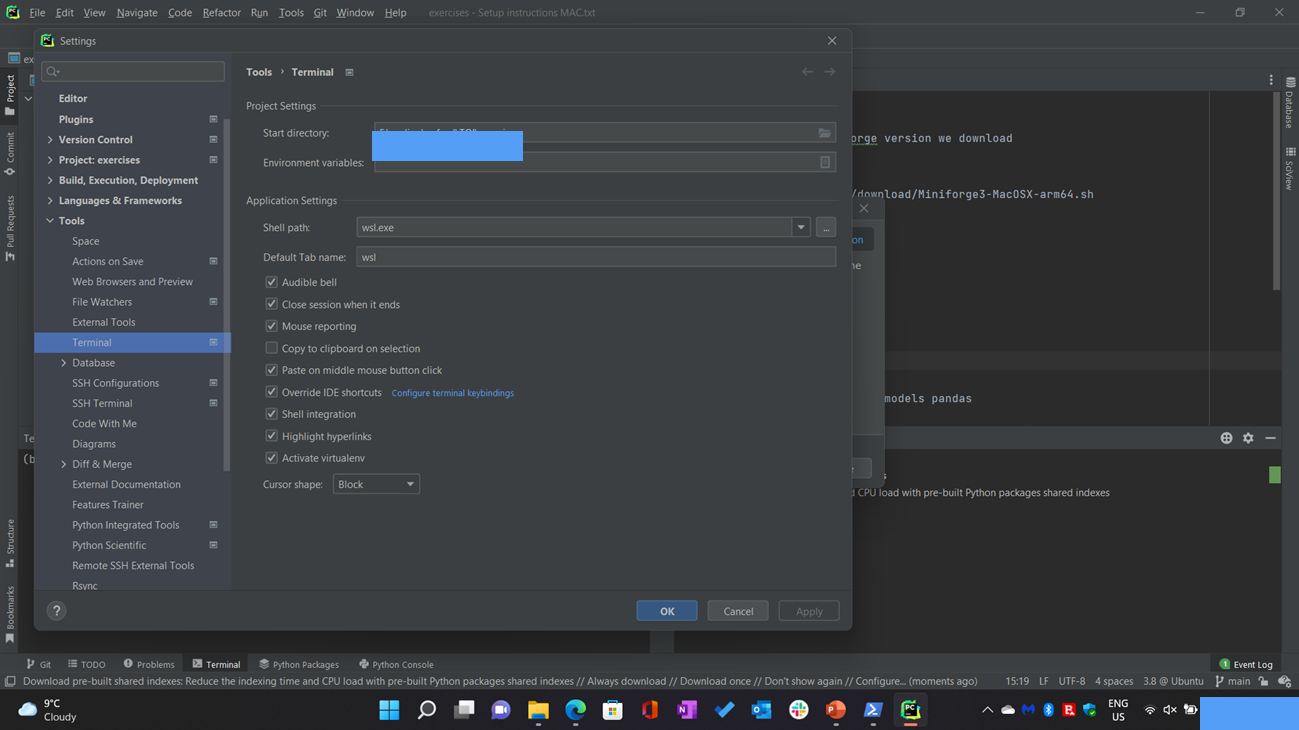
In the settings popup go to Tools.
-
Under tools,go to Terminal.
-
Change in Advanced settings, the shell path to ‘wsl.exe’ it might be cmd.exe or powershell.exe.
And you are set! Enjoy using it. If you run your code now, it will be running using the packages in Ubuntu while your code files are in windows! No need to copy it to Ubuntu! Which is really great.
Part 2: Setting up WSL2 with VS code
Note that prerequisite is to have VSCode installed. If you do not, you can get it here.
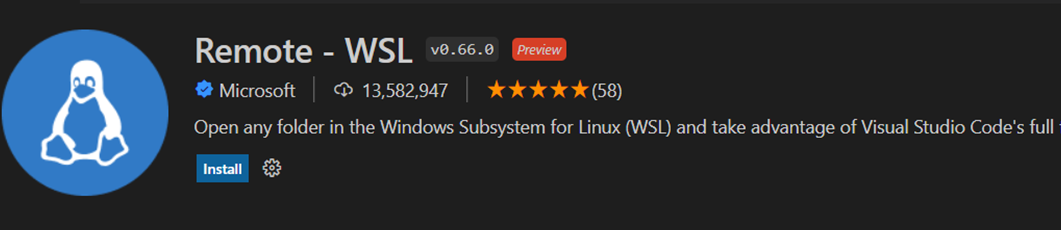
- From Extensions, search for ‘Remote WSL’ extension and install it.
-
Go to WSL.
-
Inside WSL, in any folder, type: ‘code . ‘, this will install VS code server in Ubuntu and open VS code in WSL directory

-
After that VS code will open.
-
VS code might also require you to install the Python extension.
-
For the terminal, it will be automatically integrated, to confirm.
-
Go to Terminal from the top menu, then go to New Terminal. You will notice the new terminal has the path to WSL.

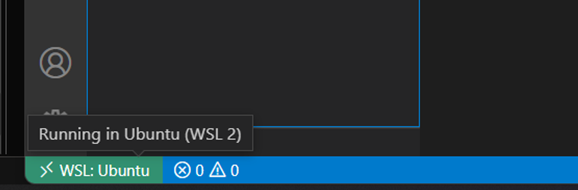
- Tip: You can always check if you are connected to WSL instance by looking at the status bar at the bottom left corner of VS Code.
And you are set! Enjoy using it.
If you run your code now, it will be running using the packages in Ubuntu while your code files are in Windows! No need to copy it to Ubuntu! Which is really great.
Also you can have code files in Ubuntu. You can execute it from Windows and edit it from IDE on Windows, which is very cool and powerful.
For more information about these you can visit Pycharm and VS Code official websites: